BigQuery
Steps to add a BigQuery data warehouse as a data destination
Step 1: Create service account in BigQuery project
- In the GCP console, navigate to the IAM & Admin menu.
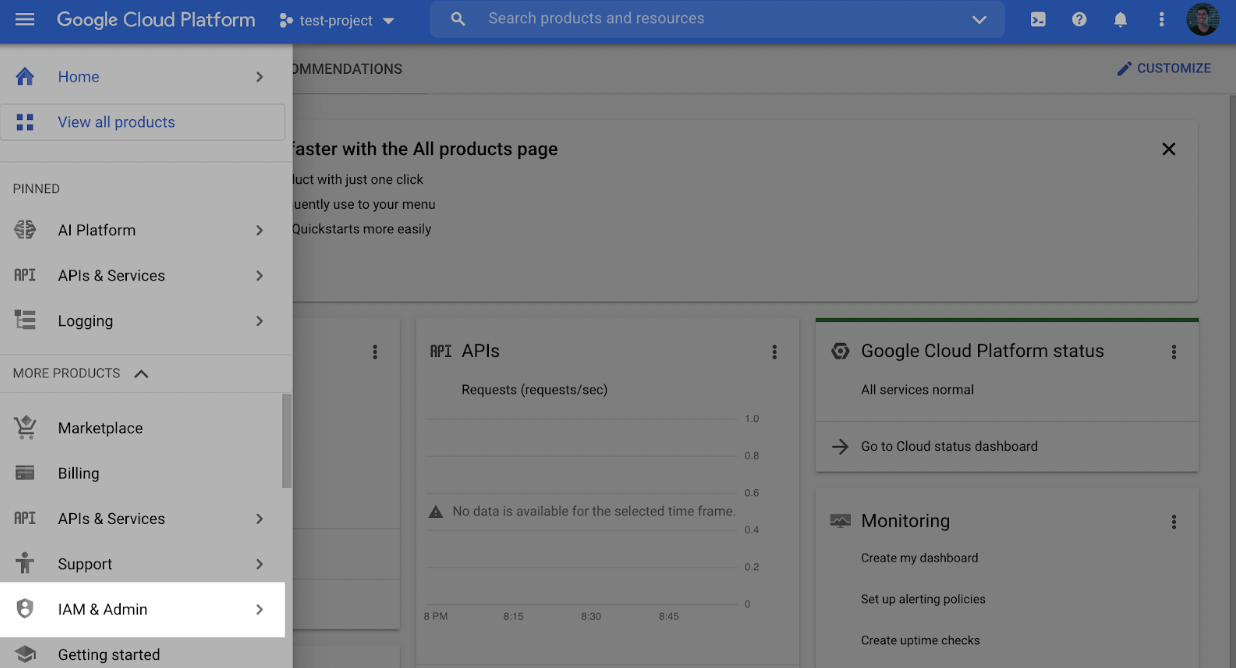
- Click into the Service Accounts tab.
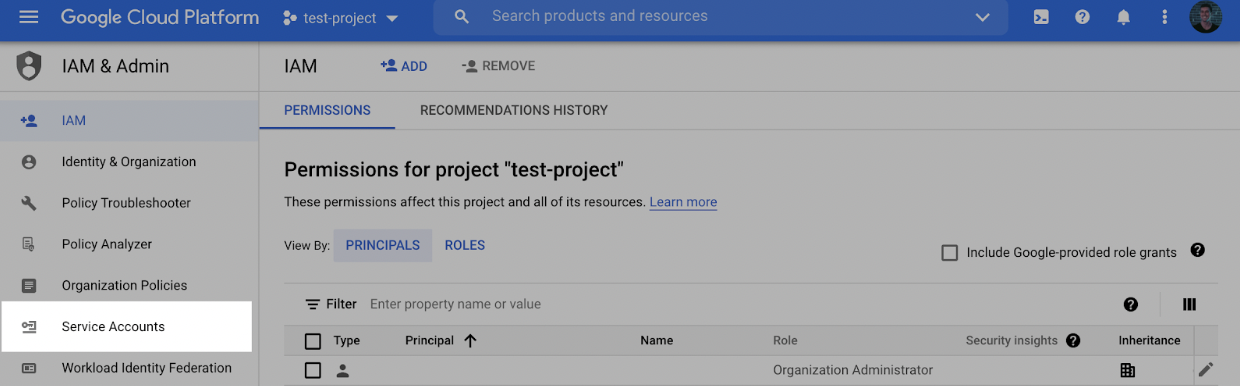
- Click Create service account at the top of the menu.

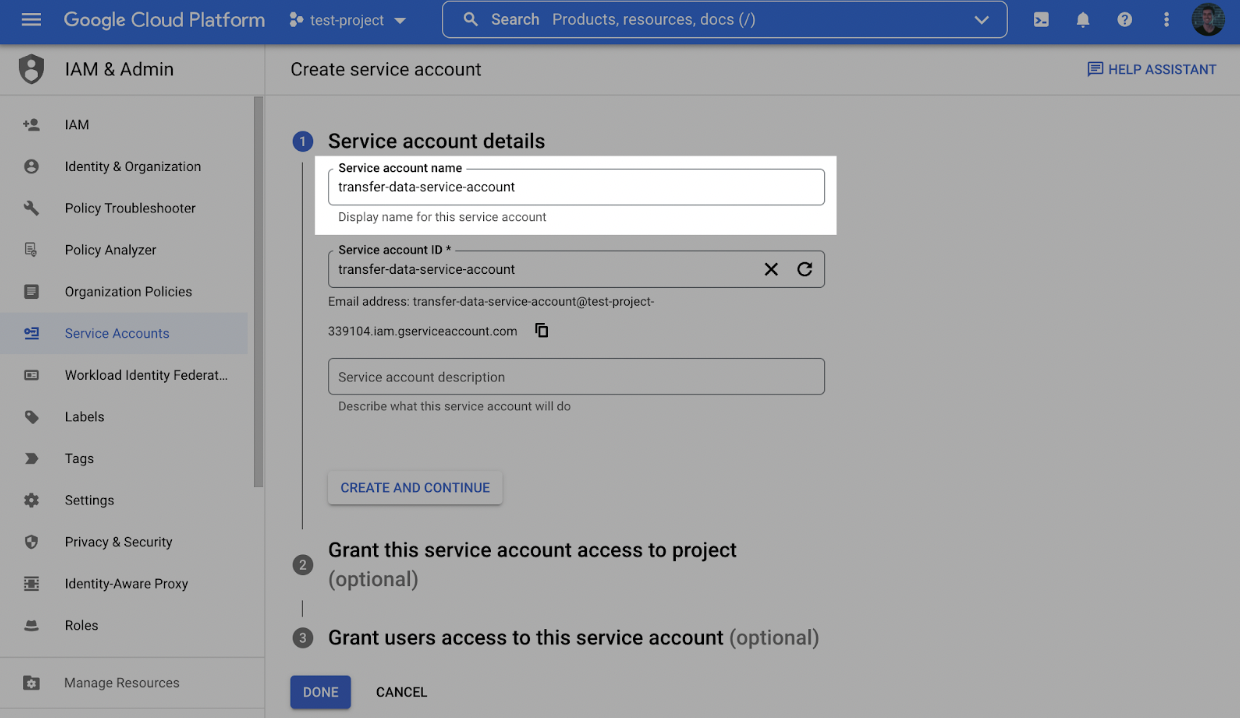
- In the first step, name the user and click Create and Continue.
- In the second step, grant the user the role BigQuery User.
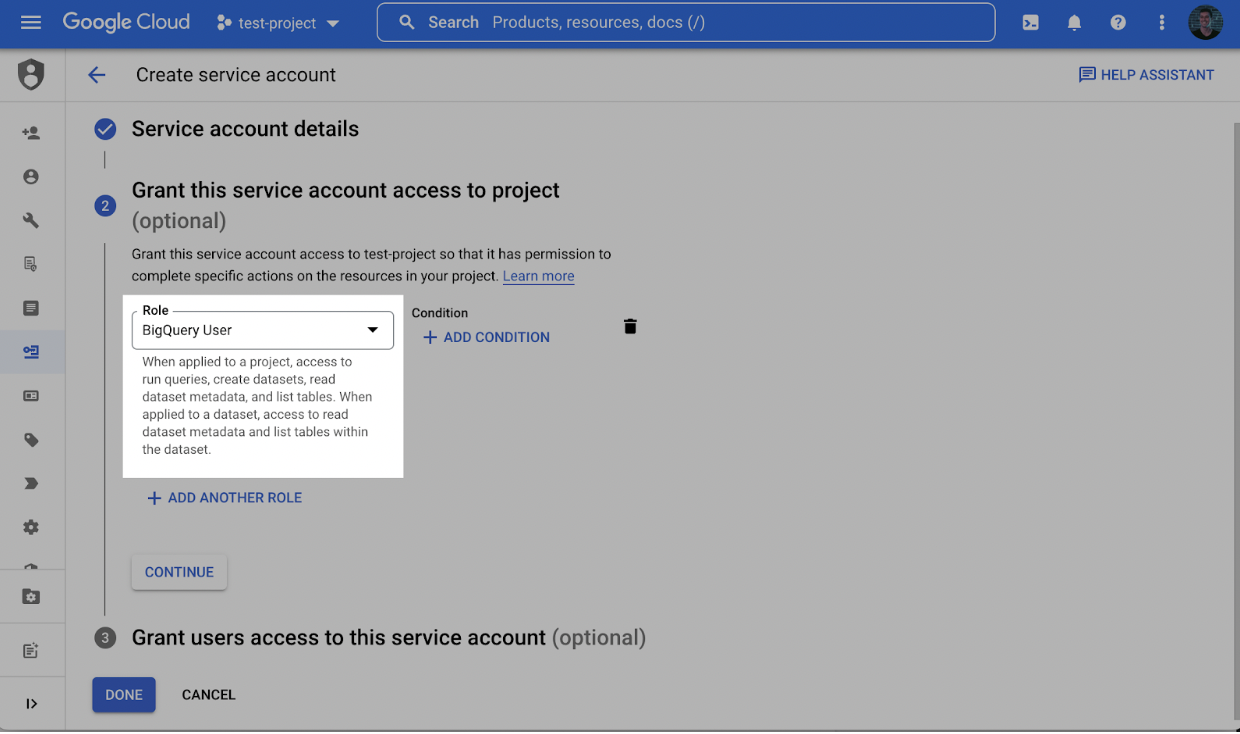
-
In the third and final step, click Done.
-
Back in the Service accounts menu, click the Actions dropdown next to the newly created service account and click Manage keys.
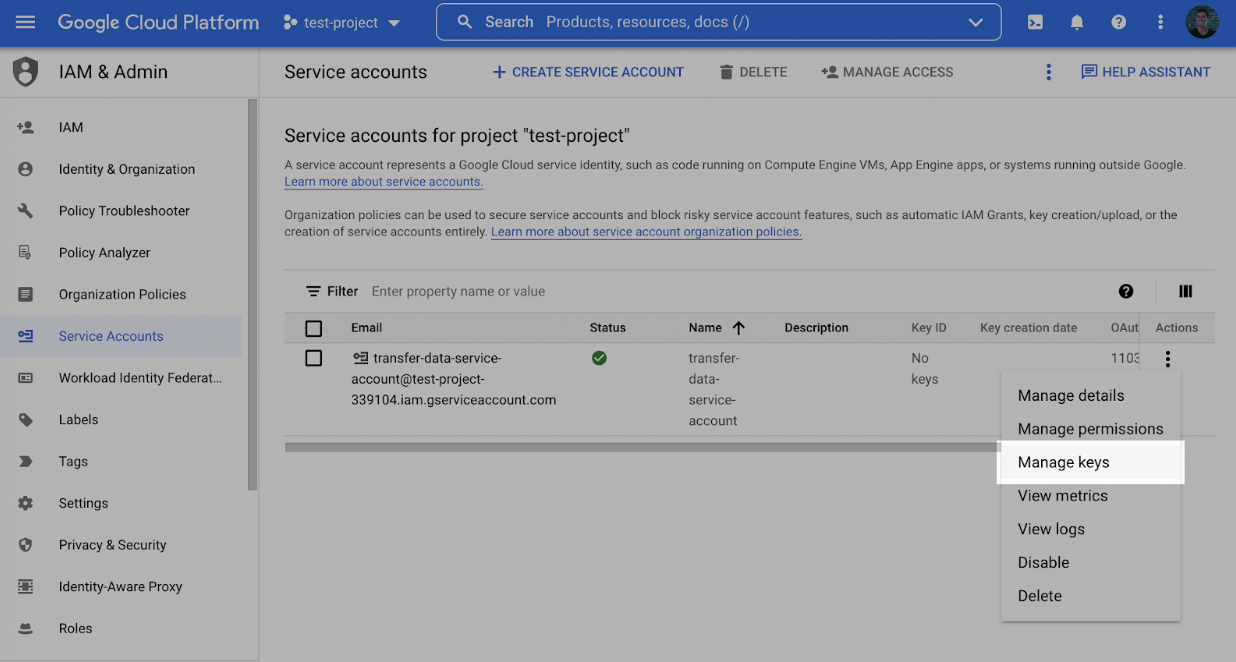
- Click Add key and then Create new key.

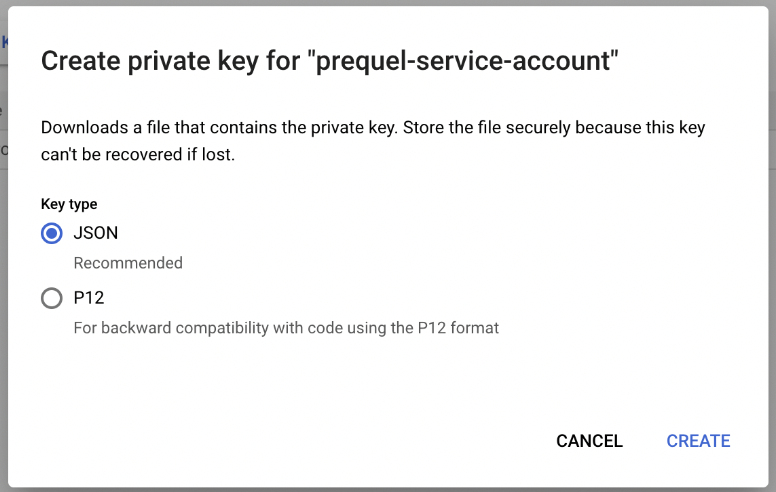
- Select the JSON Key type and click Create and make note of the key that is generated.
Step 2: Create a staging bucket
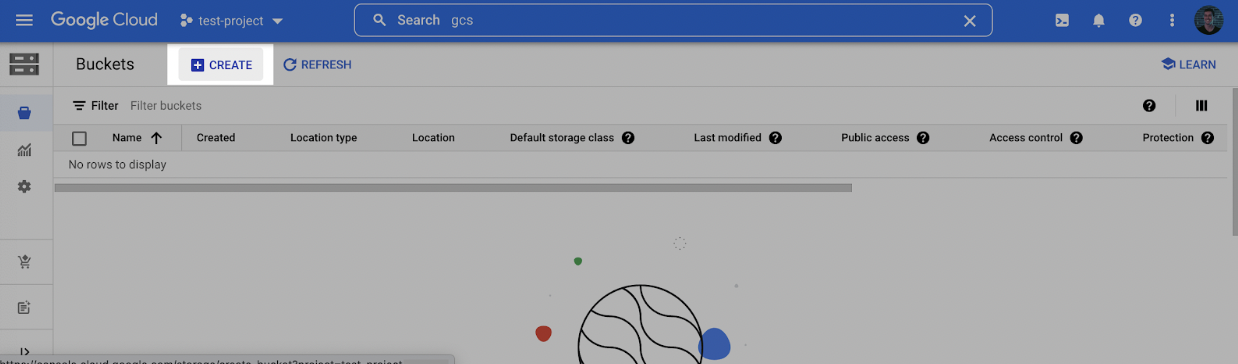
- Log into the Google Cloud Console and navigate to Cloud Storage. Click Create to create a new bucket.
- Choose a name for the bucket. Click Continue. Select a location for the staging bucket. Make a note of both the name and the location (region).
🚧 Choosing a location (region)The location you choose for your staging bucket must match the location of your destination dataset in BigQuery. When creating your bucket, be sure to choose a region in which BigQuery is supported (see BigQuery regions)
- If the dataset does not exist yet, the dataset will be created for you in the same region where you created your bucket.
- If the dataset does exist, the dataset region must match the location you choose for your bucket.
-
Click continue and select the following options according to your preferences. Once the options have been filled out, click Create.
-
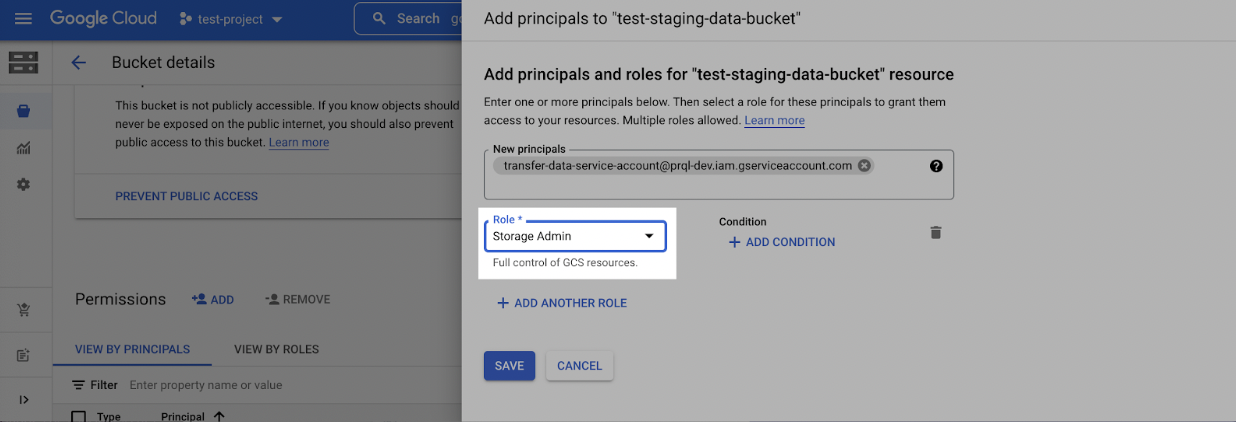
On the Bucket details page that appears, click the Permissions tab, and then click Add.
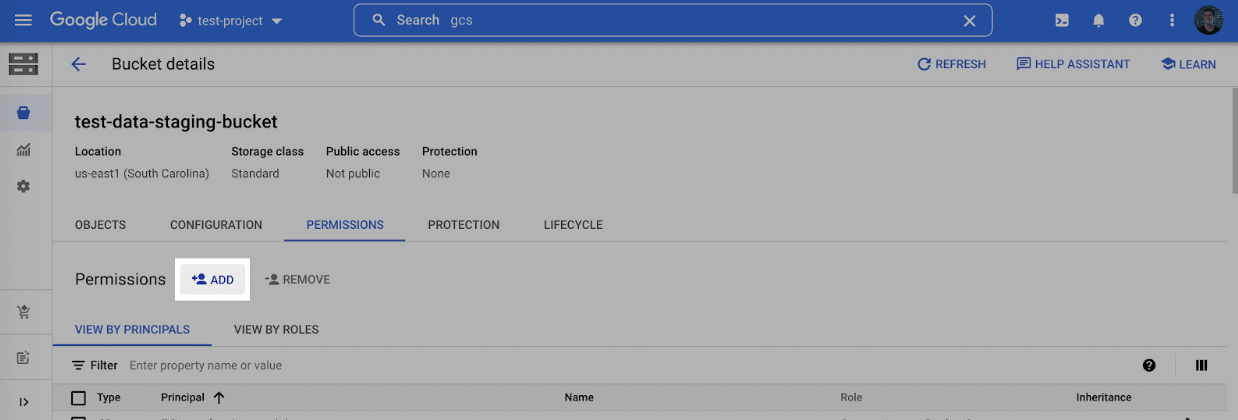
- In the New principles dropdown, add the Service Account created in Step 1, select the Storage Admin role, and click Save.
Step 3: Find Project ID
-
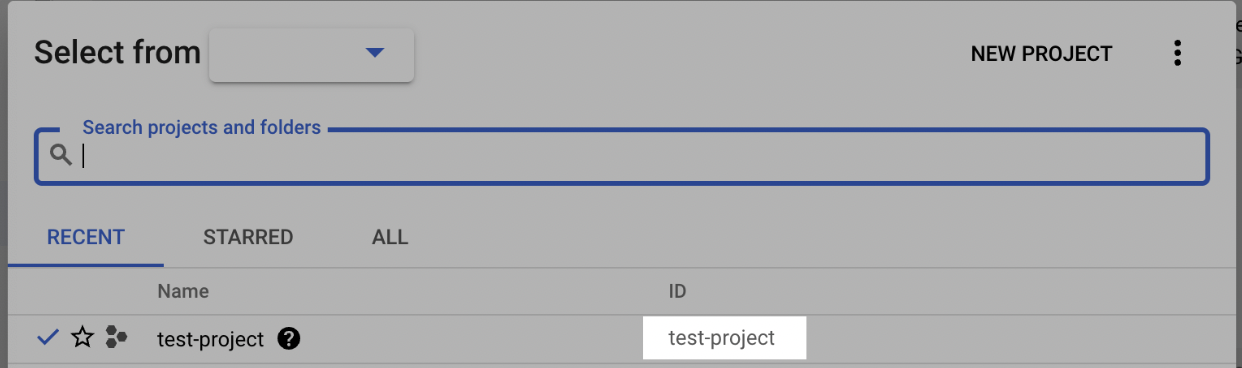
Log into the Google Cloud Console and select the projects list dropdown.
-
Make note of the BigQuery Project ID.
Step 4: Connect BigQuery to Fairing!
Use the form provided by Fairing to connect the BigQuery account you just created.
Updated about 1 month ago