Tag Customers & Orders
A how-to guide to tagging customers and orders with your Question Stream response data.
Be sure to enable Flow on your Fairing Integrations Page!To start, enable Shopify Flow in the Fairing app, click "Integrations," find Shopify Flow, and click "Connect." Once enabled, we send a payload [survey response data] to Shopify Flow whenever someone submits a survey response.
If you'd like to add your Question Stream responses directly to Shopify order or customer tags follow the below instructions. You can also download the Shopify Flow template here.
Tagging customers and orders allows you to view responses without logging into the Fairing app. Other Shopify apps also often ingest tags to enhance their reporting and functionality.
Create A New Workflow
If you haven't already installed Shopify Flow, you can do so via the Shopify App Store. To note, Shopify Flow is currently only available to Shopify Plus merchants.
Once you've installed Flow, get started creating a new workflow with *Enquire Post-Purchase Surveys as your trigger.
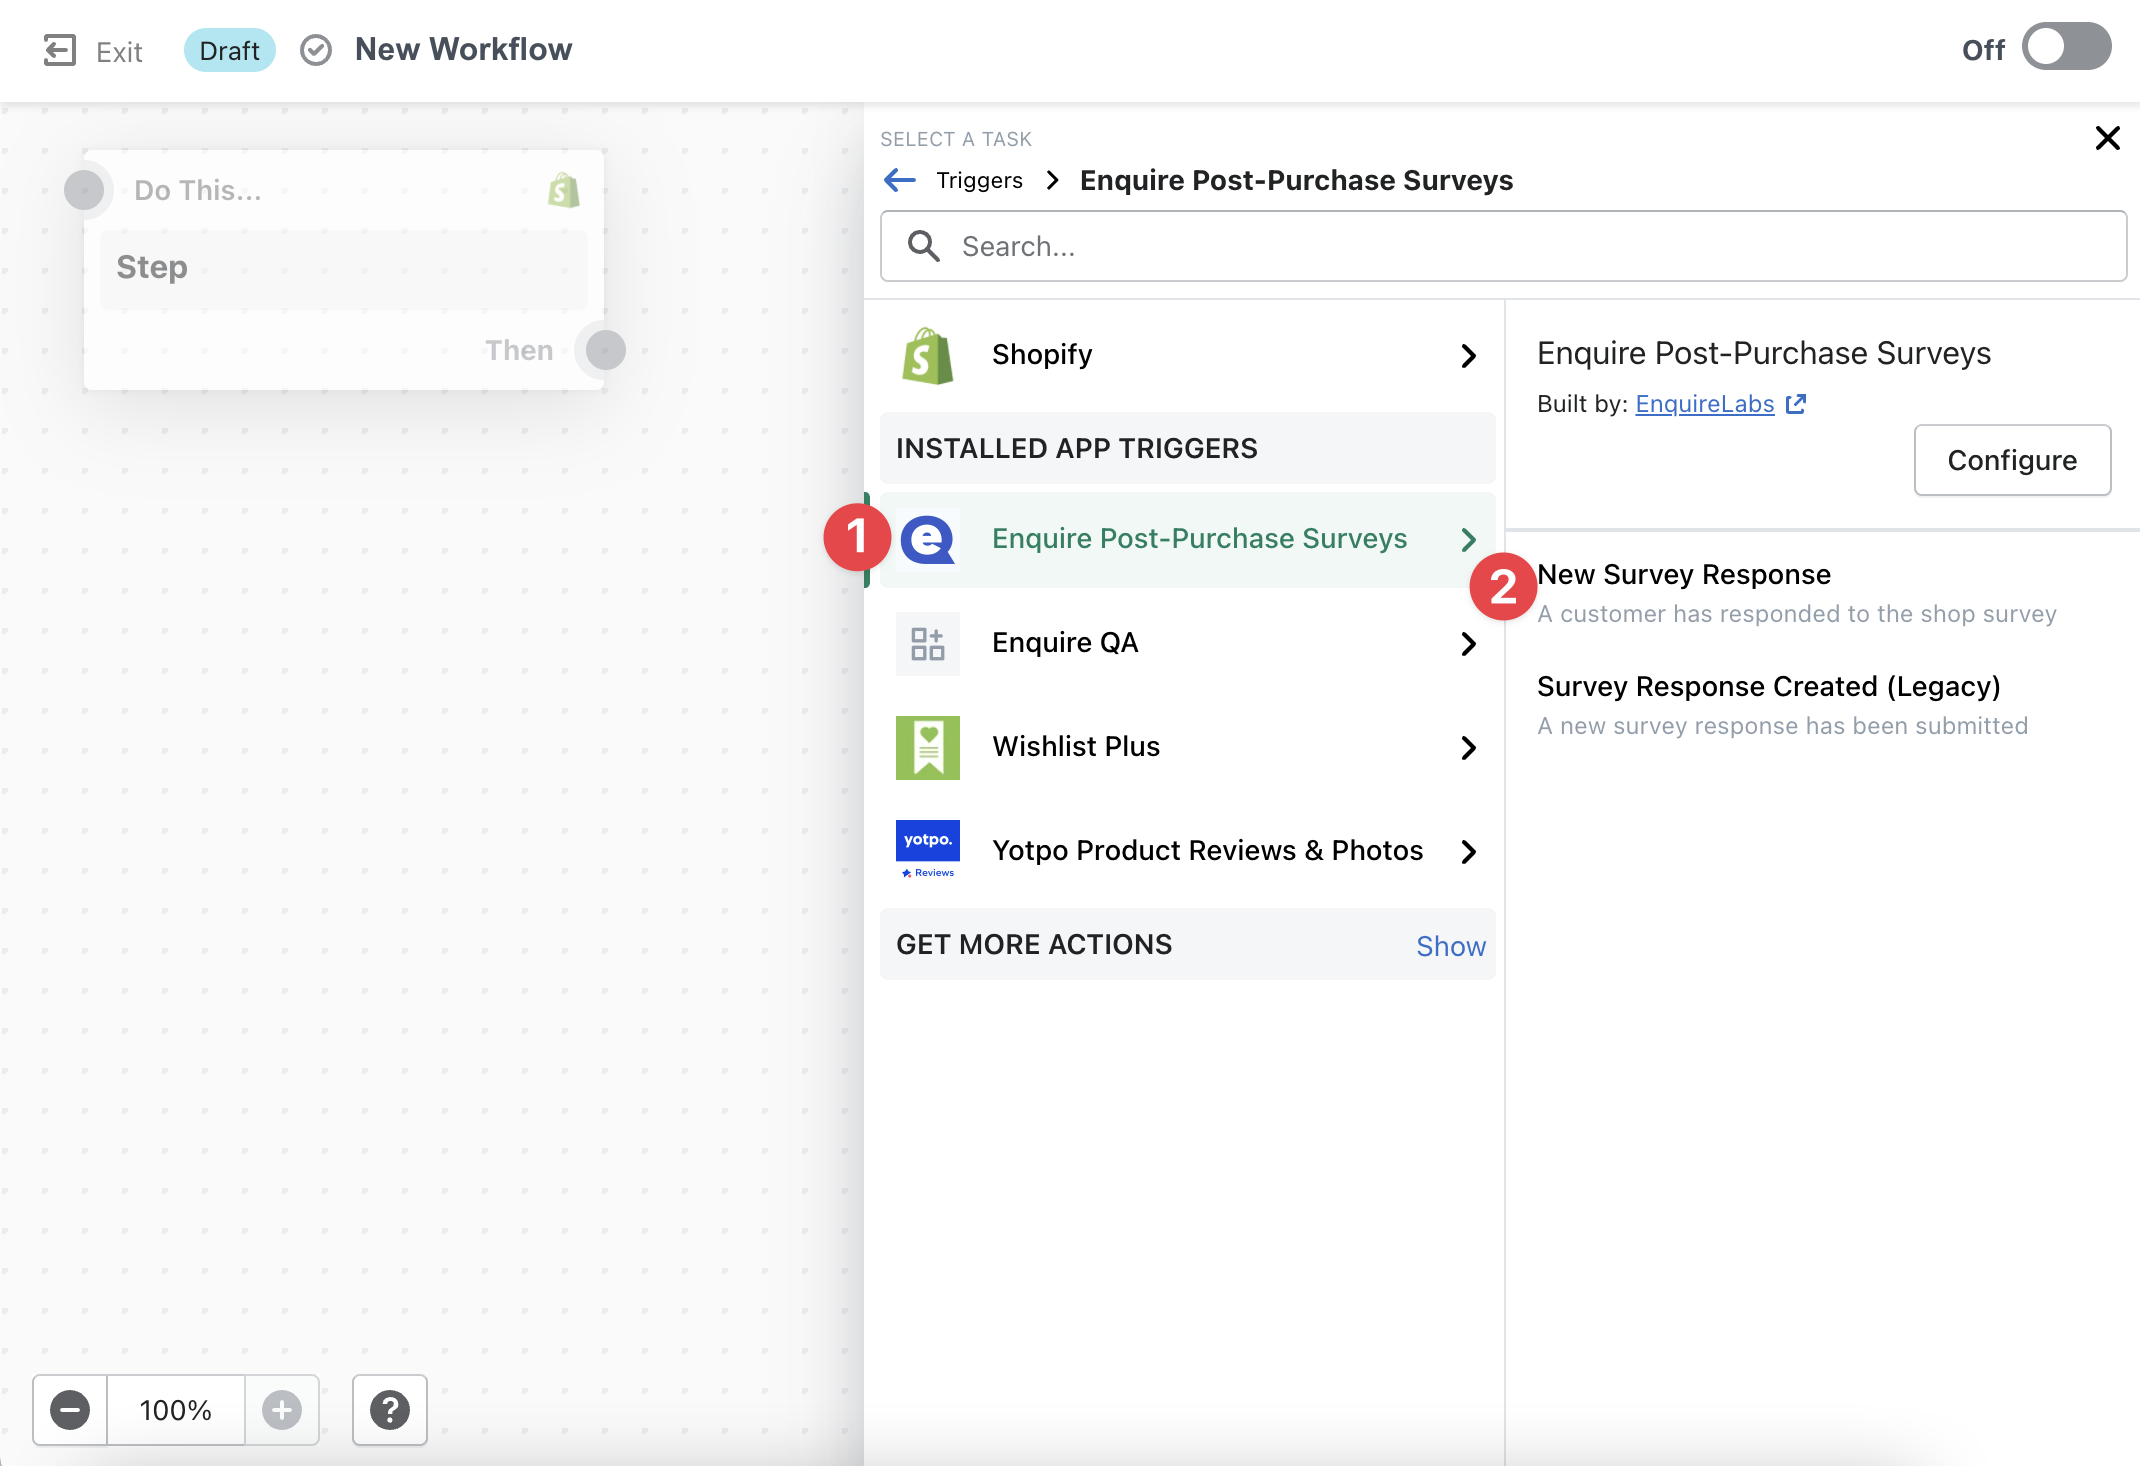
Create new Shopify Flow with EnquireLabs trigger.
After selecting New Survey Response, click Action.

Select Action
On the following screen, select Shopify, then located "Add customer tags" or "Add order tags". In this example, we'll add order tags.
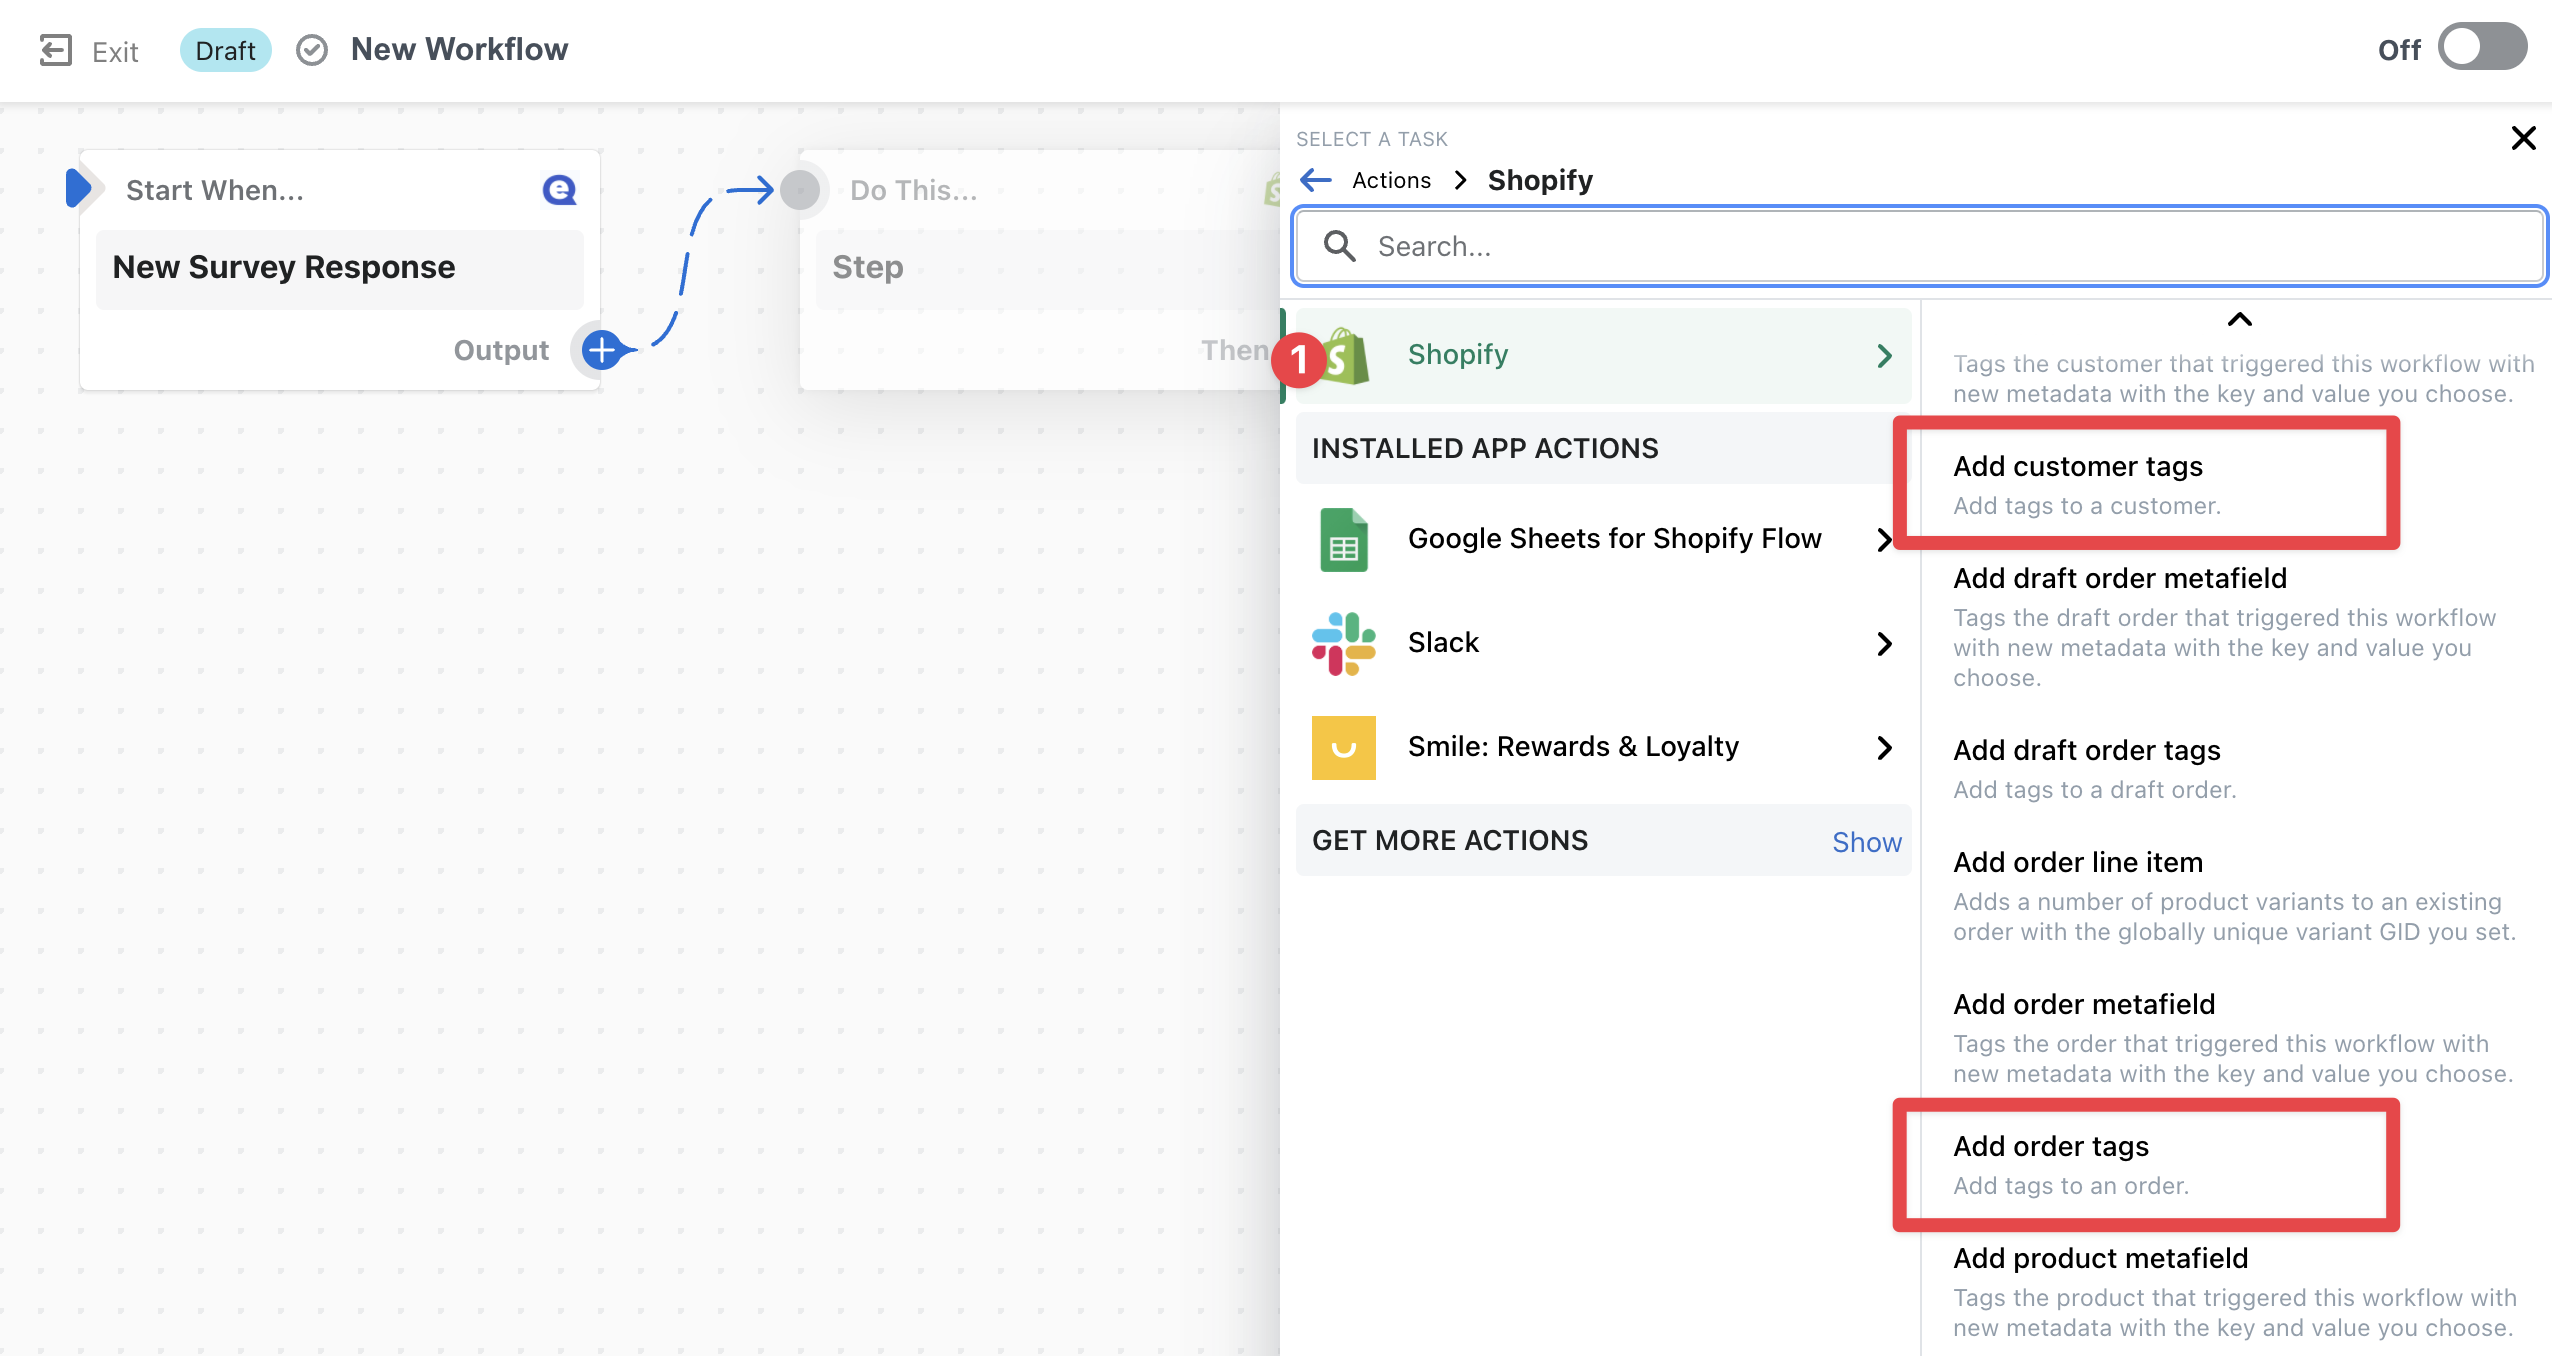
Select Add customer tags or Add order tags.
Select the template icon.

Select the template icon to see what variables you can use as tags.
On the following page, select which variables you want to be added as tags. In this example, we'll simply use {{response}}. You can also add a prefix to the variable, i.e. EL:{{response}}.
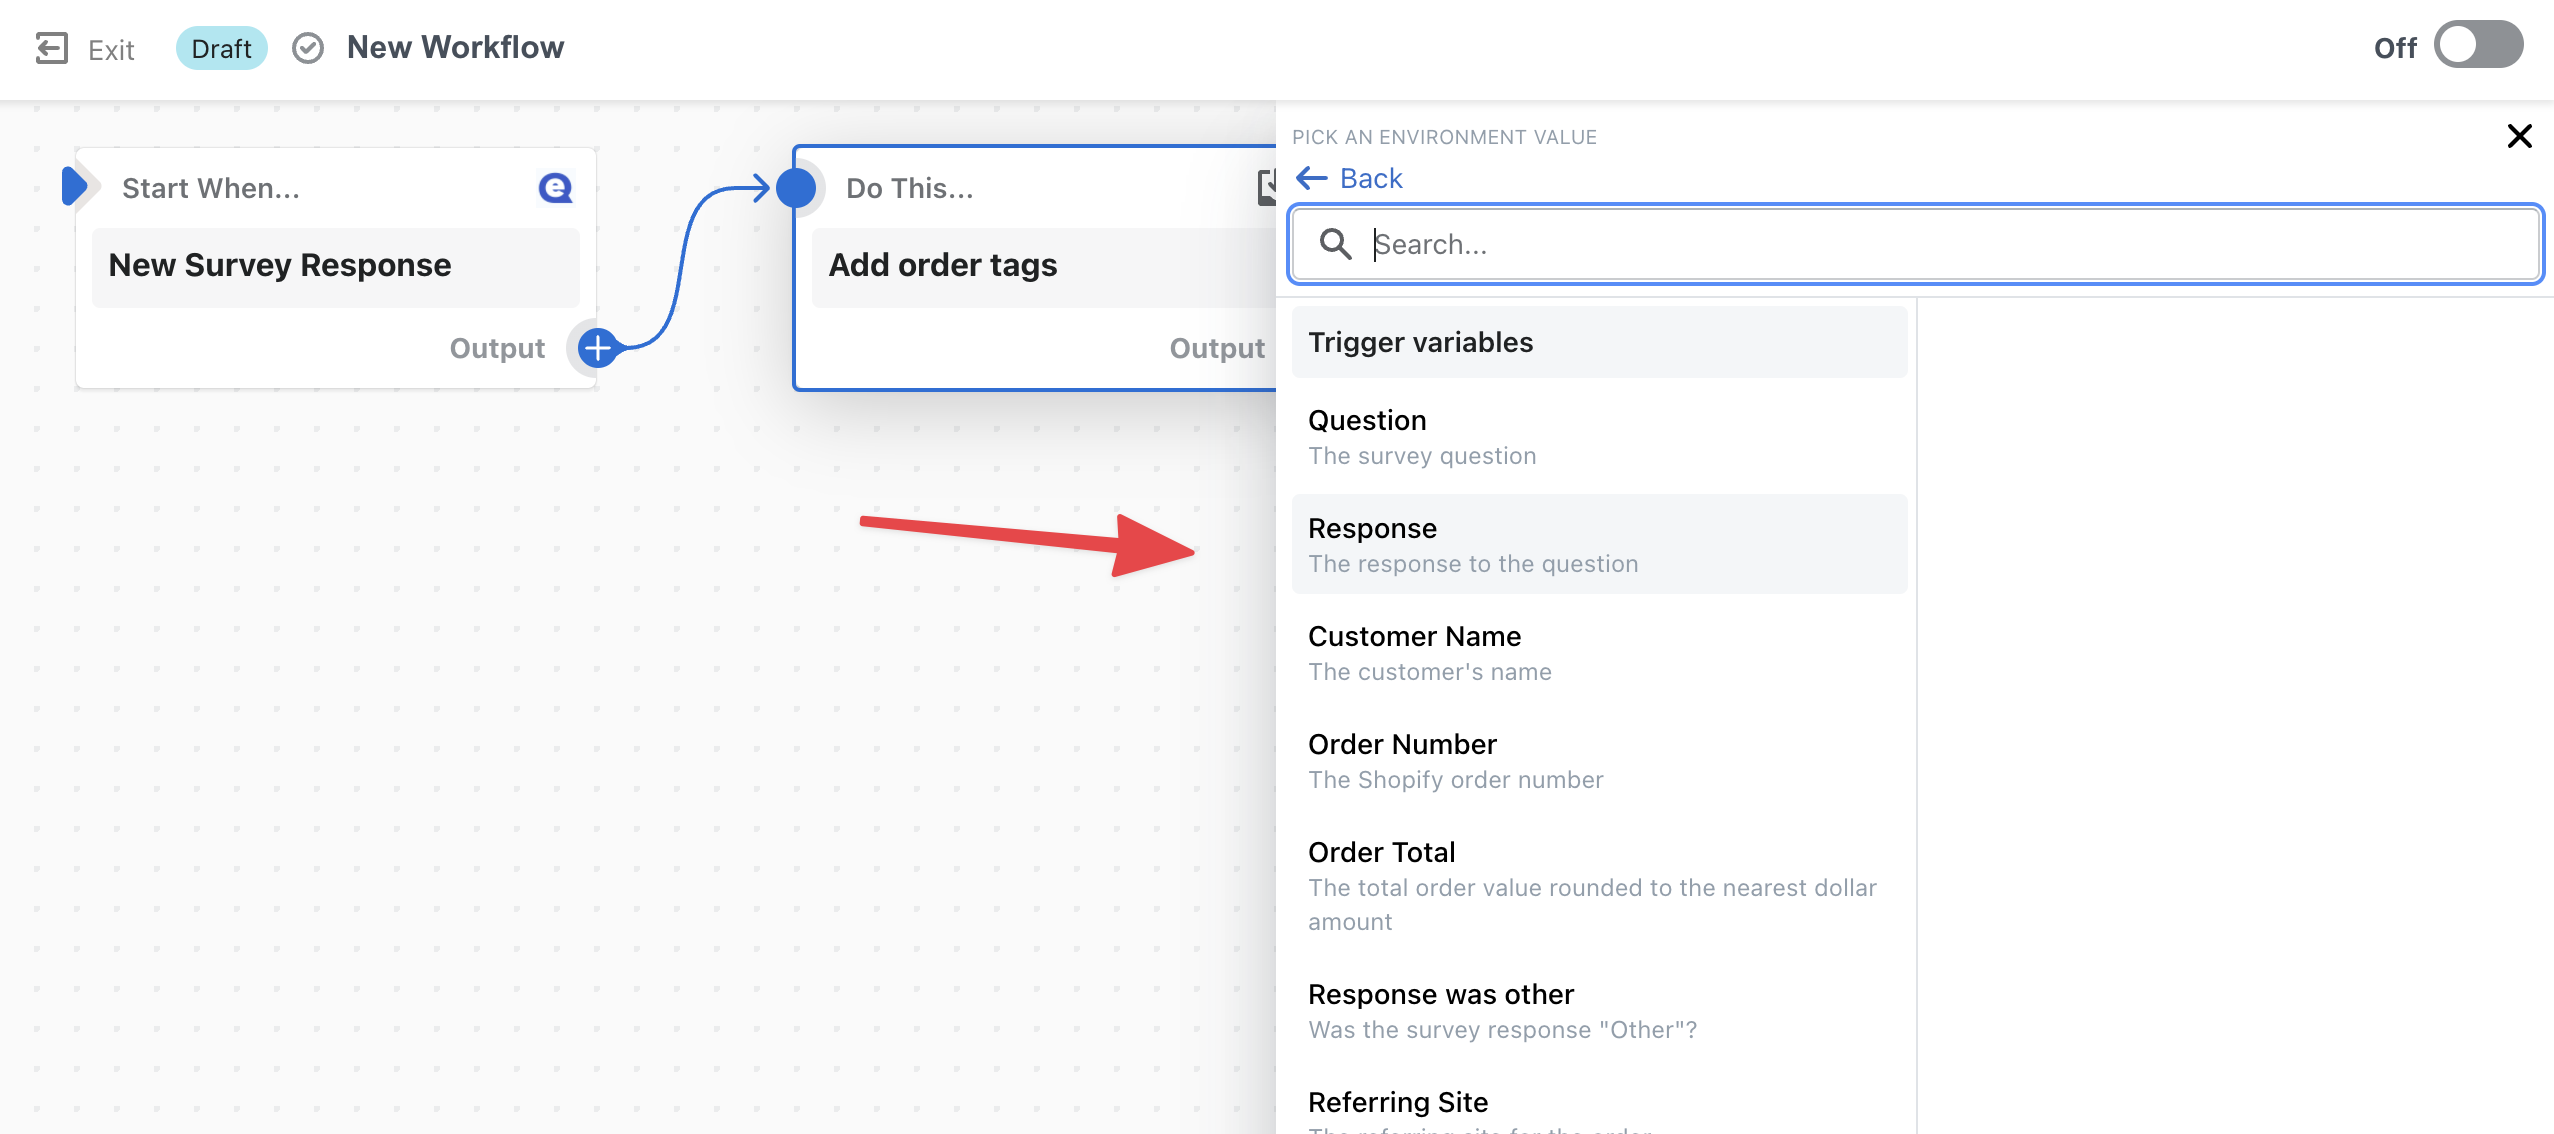
Click trigger variable.
On the following screen, hover over the input field and click on the "+" icon to add the tag.

Hover over input field and click on the "+" icon to add the tag.
After you select the "+" sign, you'll see the tag added with a grey background.

Verify tag has been added.
Title Your Workflow & Enable
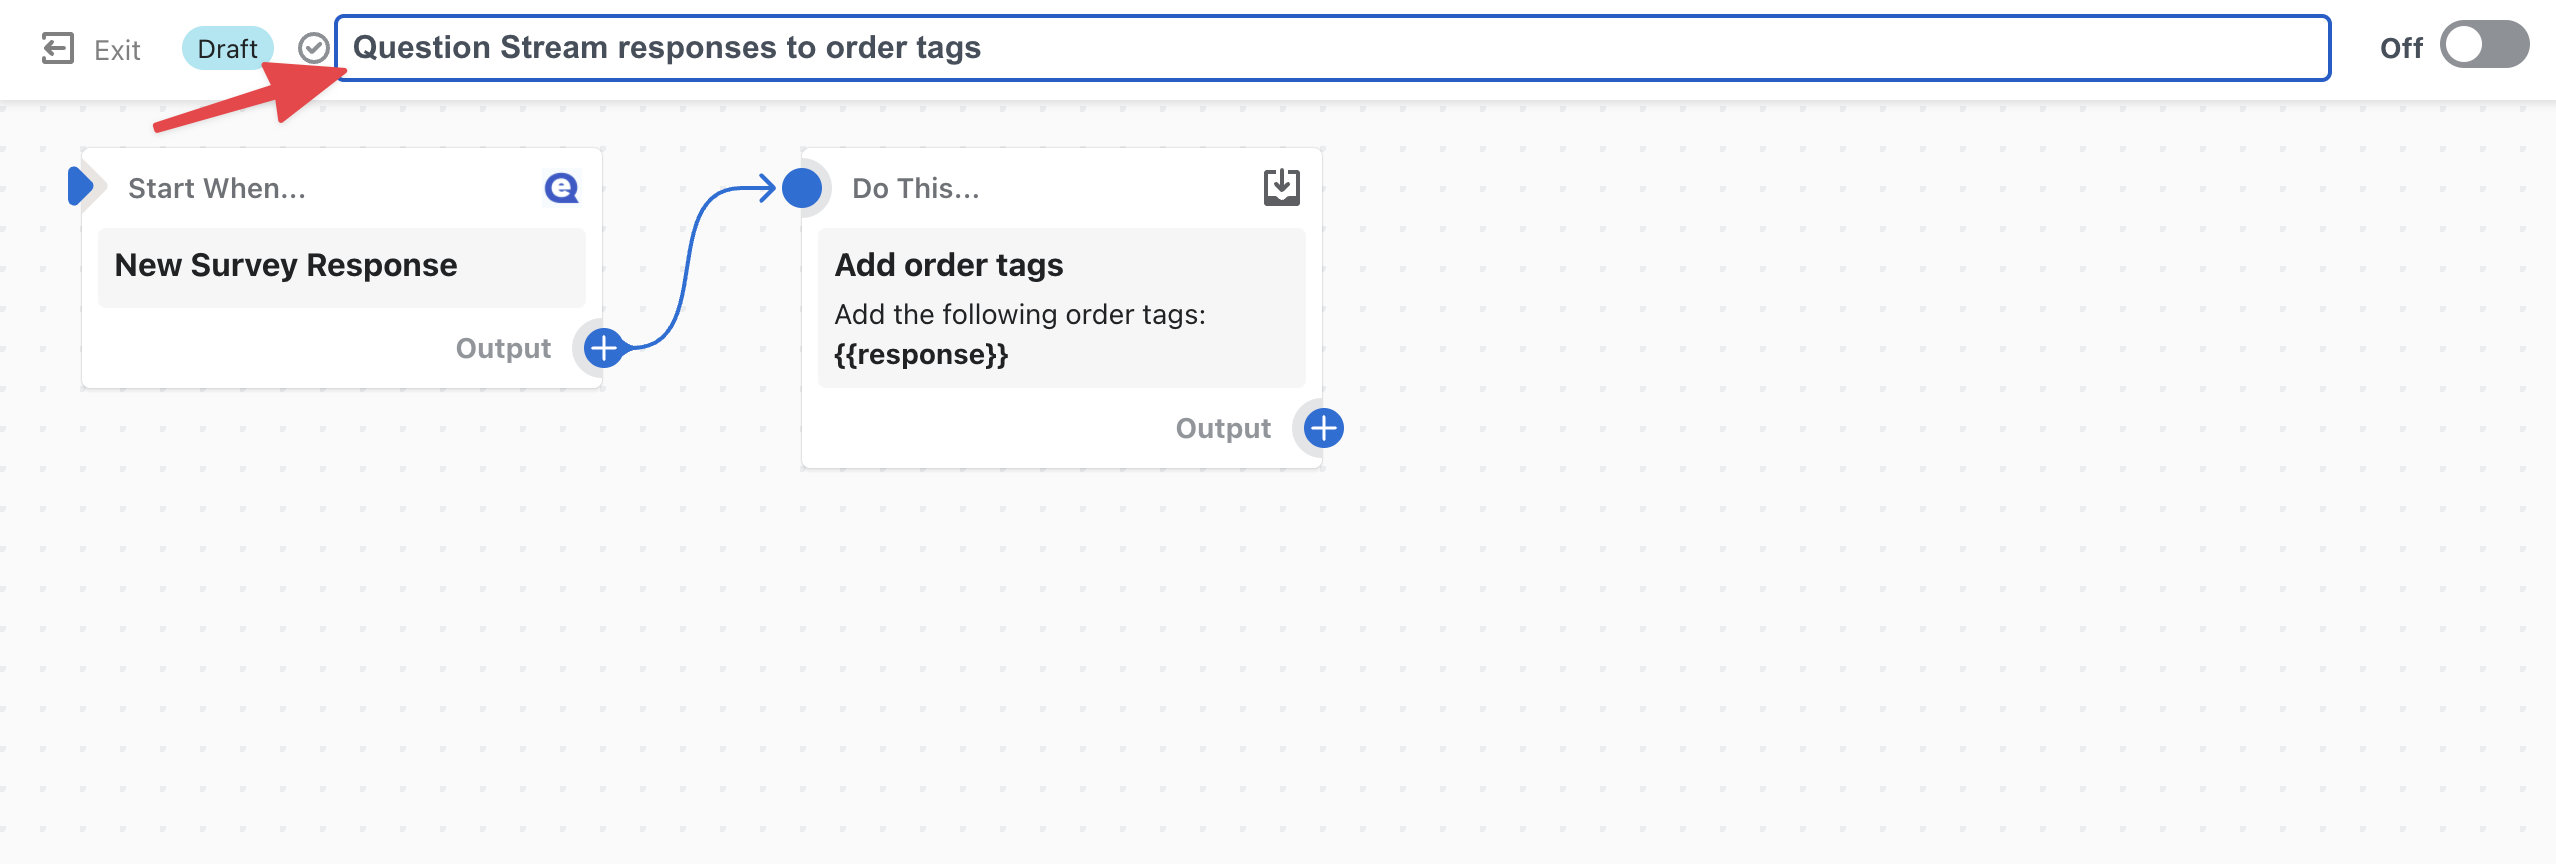
Re-title Shopify Flow to Question Stream Responses to Slack
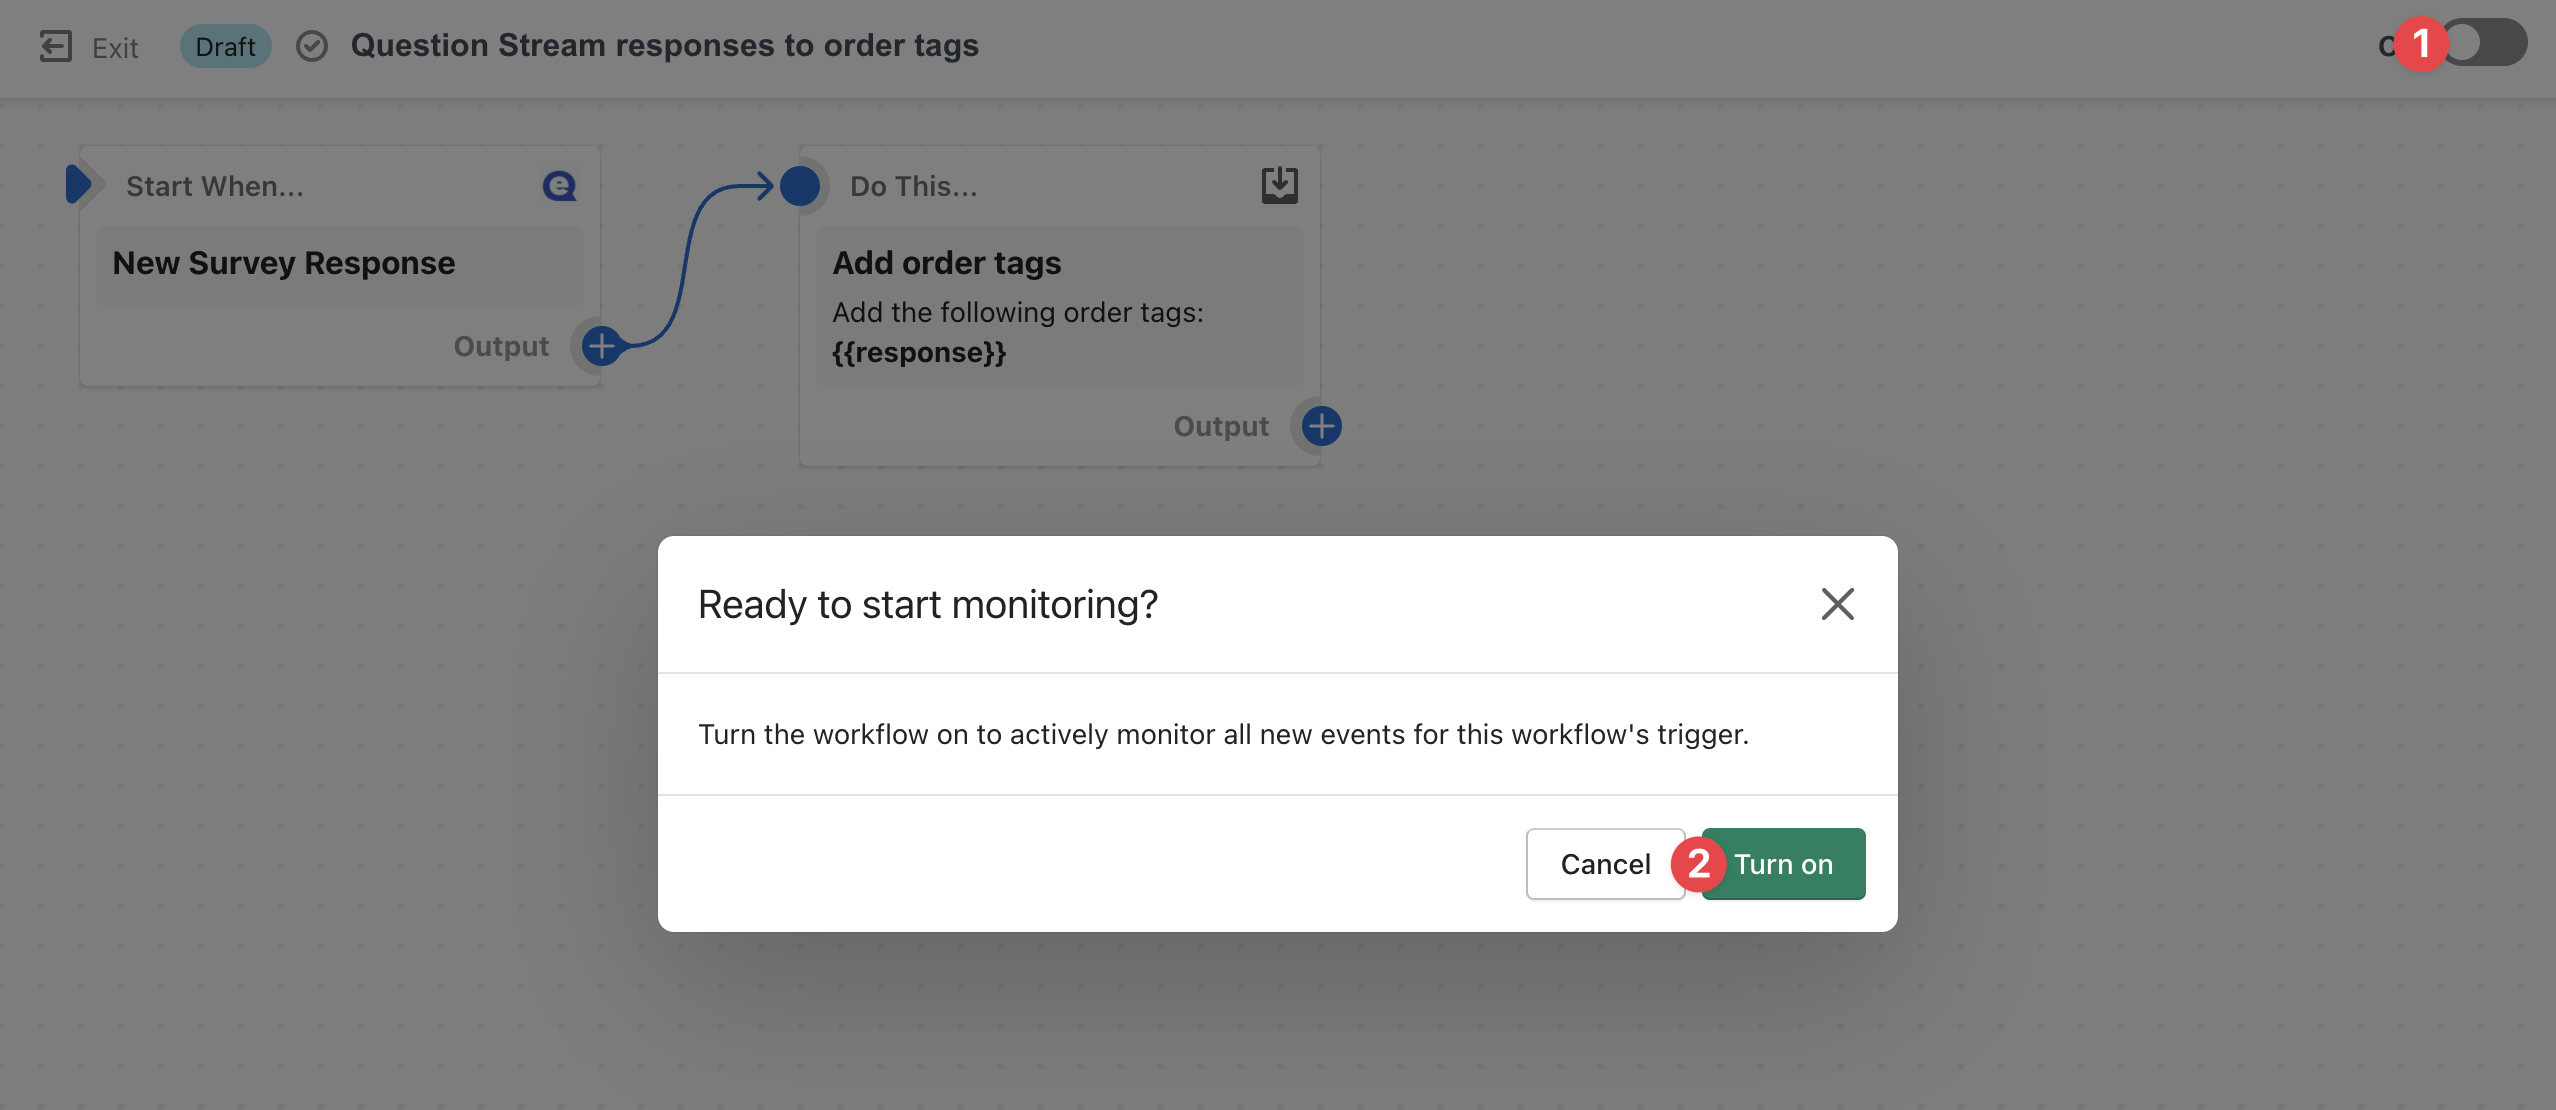
Turn on Question Stream to Slack Shopify Flow workflow.
Updated 5 months ago